Work in progress
The content of this page was not yet updated for Godot
4.2
and may be outdated. If you know how to improve this page or you can confirm
that it's up to date, feel free to open a pull request.
Спавн монстров
В этой части мы будем порождать монстров по пути случайным образом. К концу у вас будут монстры, бродящие по игровому полю.
Double-click on main.tscn in the FileSystem dock to open the Main scene.
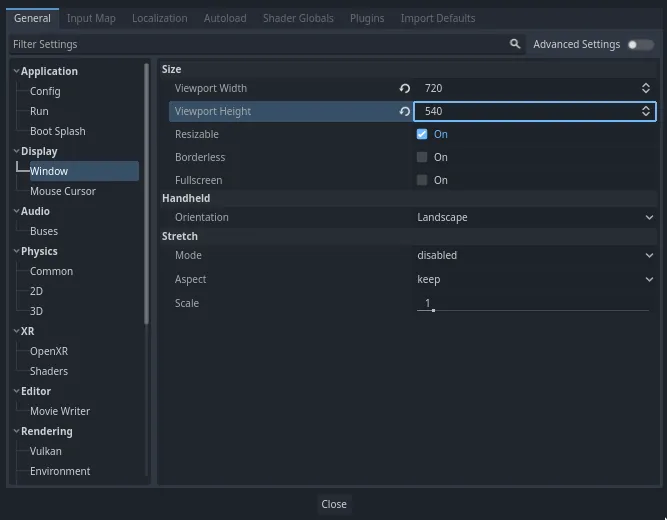
Before drawing the path, we're going to change the game resolution. Our game has
a default window size of 1152x648. We're going to set it to 720x540, a
nice little box.
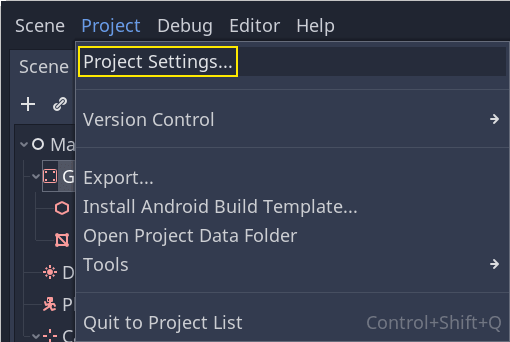
Перейдите в Проект -> Настройки проекта.
В левом меню перейдите вниз к Display -> Window. Справа установите значение Width на 720 и значение Height на 540.
Создание пути спавна
Like you did in the 2D game tutorial, you're going to design a path and use a PathFollow3D node to sample random locations on it.
Однако в 3D рисовать путь немного сложнее. Мы хотим, чтобы он был вокруг игрового вида, чтобы монстры появлялись прямо за экраном. Но если мы нарисуем путь, мы не увидим его из предварительного просмотра камеры.
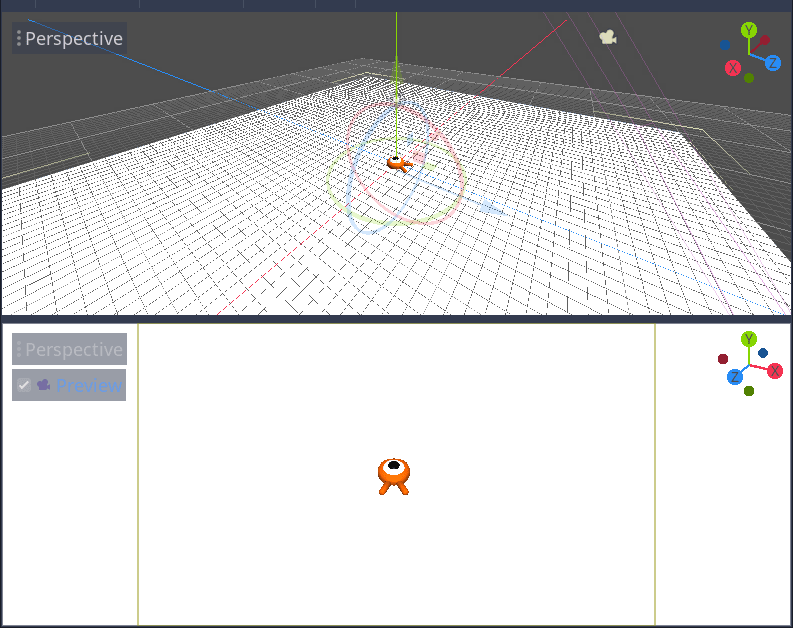
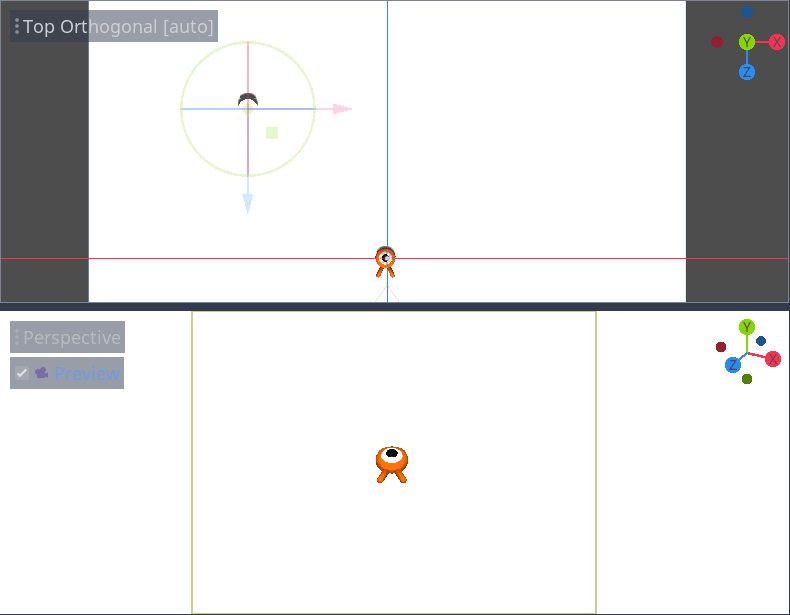
To find the view's limits, we can use some placeholder meshes. Your viewport should still be split into two parts, with the camera preview at the bottom. If that isn't the case, press Ctrl + 2 (Cmd + 2 on macOS) to split the view into two. Select the Camera3D node and click the Preview checkbox in the bottom viewport.
Добавление заполнителей цилиндров
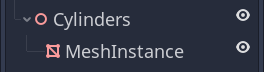
Let's add the placeholder meshes. Add a new Node3D as a child of the
Main node and name it Cylinders. We'll use it to group the cylinders. Select Cylinders and add a child node MeshInstance3D
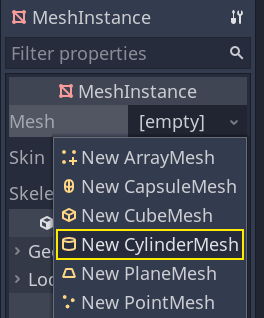
В инспекторе назначьте CylinderMesh свойству Mesh.
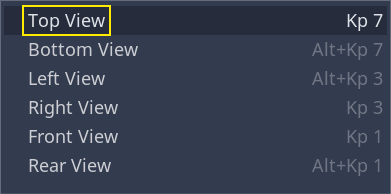
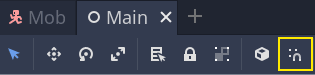
Установите верхний экран на ортогональный вид сверху с помощью меню в левом верхнем углу экрана. Также можно нажать клавишу 7 на клавиатуре.
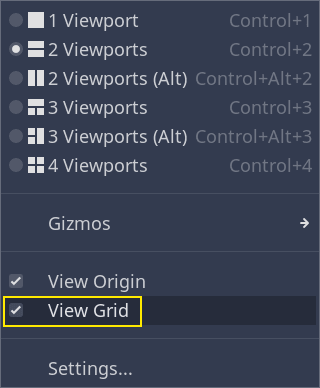
The grid may be distracting. You can toggle it by going to the View menu in the toolbar and clicking View Grid.
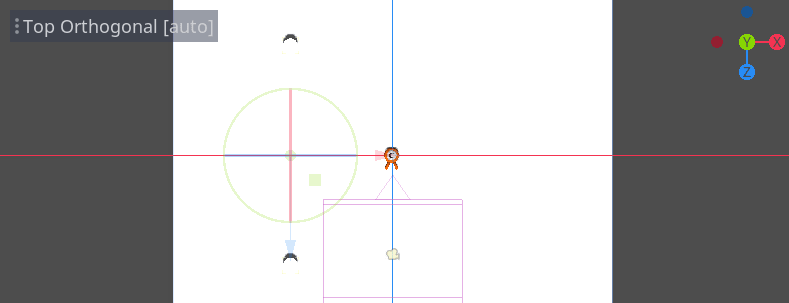
Теперь нужно переместить цилиндр вдоль плоскости земли, глядя на предварительный просмотр камеры в нижнем окне просмотра. Я рекомендую использовать для этого привязку к сетке. Её можно переключить, нажав на значок магнита на панели инструментов или нажав Y.
Move the cylinder so it's right outside the camera's view in the top-left corner.
Мы собираемся создать копии сетки и разместить их вокруг игровой области. Нажмите Ctrl + D (Cmd + D на macOS), чтобы продублировать узел. Вы также можете щёлкнуть узел правой кнопкой мыши в панели Scene и выбрать Duplicate. Переместите копию вниз вдоль синей оси Z, пока она не окажется прямо за пределами предварительного просмотра камеры.
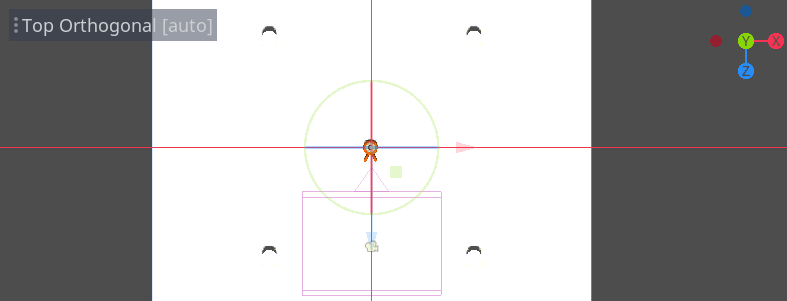
Выберите оба цилиндра, нажав клавишу Shift и щёлкнув по невыбранному цилиндру продублируйте их.
Переместите их вправо, перетащив красную ось X.
Их немного трудно разглядеть в белом цвете, не так ли? Давайте выделим их, придав им новый материал.
В 3D, материалы определяют визуальные свойства поверхности, такие как цвет, отражение света и многое другое. Мы можем использовать их для изменения цвета сетки.
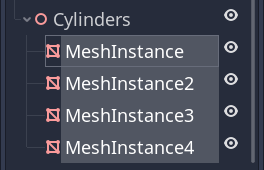
Мы можем обновить все четыре цилиндра одновременно. Выберите все экземпляры сетки в панели Scene. Для этого щёлкните на первом из них и щёлкните с зажатым Shift на последнем.
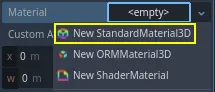
In the Inspector, expand the Material section and assign a StandardMaterial3D to slot 0.
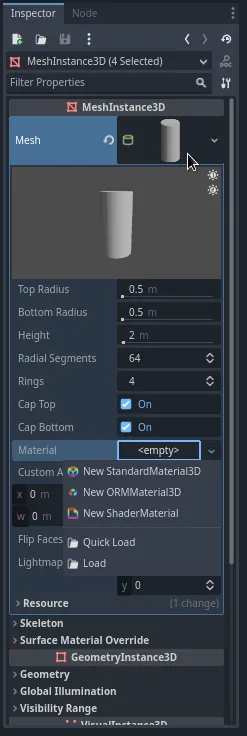
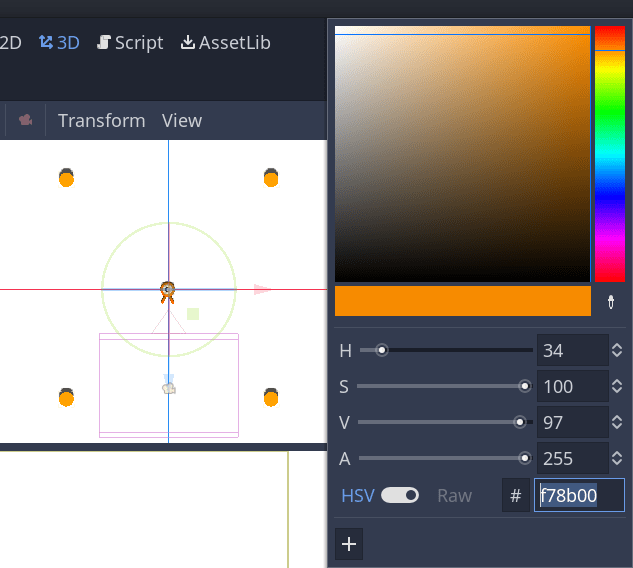
Щёлкните значок сферы, чтобы открыть ресурс материала. Вы получите предварительный просмотр материала и длинный список разделов, заполненных свойствами. С их помощью можно создавать всевозможные поверхности, от металла до камня или воды.
Expand the Albedo section.
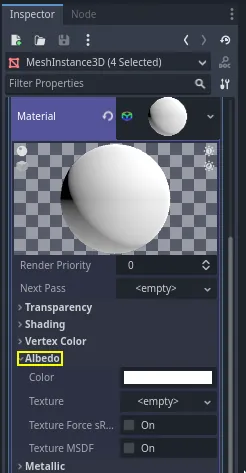
Set the color to something that contrasts with the background, like a bright orange.
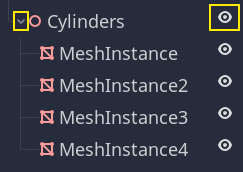
Теперь мы можем использовать цилиндры в качестве направляющих. Сложите их в панели Scene, нажав на серую стрелку рядом с ними. Продвигаясь вперёд, вы также можете переключить их видимость, нажав на значок глаза рядом с Цилиндрами.
Add a child node Path3D to Main node. In the toolbar, four icons appear. Click
the Add Point tool, the icon with the green "+" sign.

Примечание
Наведя курсор на любой значок, можно увидеть всплывающую подсказку с описанием инструмента.
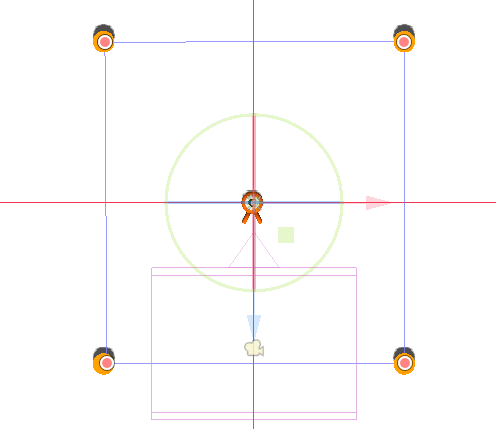
Щёлкните в центре каждого цилиндра, чтобы создать точку. Затем нажмите на значок Close Curve (Закрыть кривую) на панели инструментов, чтобы закрыть контур. Если какая-либо точка немного смещена, можно щёлкнуть и перетащить её, чтобы изменить положение.

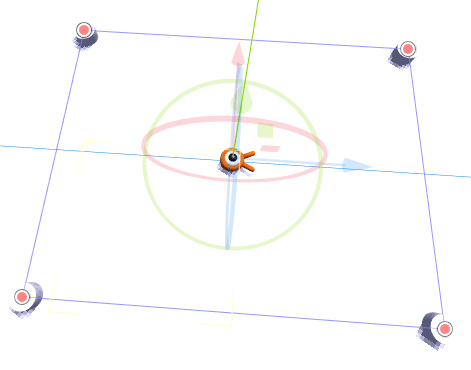
Ваш путь должен выглядеть следующим образом.
To sample random positions on it, we need a PathFollow3D node. Add a
PathFollow3D as a child of the Path3D. Rename the two nodes to SpawnLocation and
SpawnPath, respectively. It's more descriptive of what we'll use them for.
После этого мы готовы к написанию кода механизма порождения.
Случайный спавн монстров
Right-click on the Main node and attach a new script to it.
We first export a variable to the Inspector so that we can assign mob.tscn
or any other monster to it.
extends Node

@export var mob_scene: PackedScene
using Godot;

public partial class Main : Node
{
    // Don't forget to rebuild the project so the editor knows about the new export variable.

    [Export]
    public PackedScene MobScene { get; set; }
}
We want to spawn mobs at regular time intervals. To do this, we need to go back
to the scene and add a timer. Before that, though, we need to assign the
mob.tscn file to the mob_scene property above (otherwise it's null!)
Head back to the 3D screen and select the Main node. Drag mob.tscn from
the FileSystem dock to the Mob Scene slot in the Inspector.
Add a new Timer node as a child of Main. Name it MobTimer.
В инспекторе установите Wait Time на 0.5 секунд и включите Autostart, чтобы он автоматически запускался, когда мы запустим игру.
Таймеры издают сигнал timeout каждый раз, когда они достигают конца своего времени ожидания (Wait Time). По умолчанию они перезапускаются автоматически, испуская сигнал в цикле. Мы можем подключиться к этому сигналу из узла Main, чтобы порождать монстров каждые 0.5 секунды.
With the MobTimer still selected, head to the Node dock on the right, and
double-click the timeout signal.
Подключите его к узлу Main.
This will take you back to the script, with a new empty
_on_mob_timer_timeout() function.
Давайте напишем логику порождения мобов. Мы собираемся:
Добавить подвижный объект на сцену.
Выборка случайной позиции на пути порождения.
Получить позицию игрока.
Вызовите метод
initialize()моба, передав ему случайную позицию и позицию игрока.Добавьте подвижный объект в качестве дочернего элемента узла Main.
func _on_mob_timer_timeout():
    # Create a new instance of the Mob scene.
    var mob = mob_scene.instantiate()

    # Choose a random location on the SpawnPath.
    # We store the reference to the SpawnLocation node.
    var mob_spawn_location = get_node("SpawnPath/SpawnLocation")
    # And give it a random offset.
    mob_spawn_location.progress_ratio = randf()

    var player_position = $Player.position
    mob.initialize(mob_spawn_location.position, player_position)

    # Spawn the mob by adding it to the Main scene.
    add_child(mob)
// We also specified this function name in PascalCase in the editor's connection window
private void OnMobTimerTimeout()
{
    // Create a new instance of the Mob scene.
    Mob mob = MobScene.Instantiate<Mob>();

    // Choose a random location on the SpawnPath.
    // We store the reference to the SpawnLocation node.
    var mobSpawnLocation = GetNode<PathFollow3D>("SpawnPath/SpawnLocation");
    // And give it a random offset.
    mobSpawnLocation.ProgressRatio = GD.Randf();

    Vector3 playerPosition = GetNode<Player>("Player").Position;
    mob.Initialize(mobSpawnLocation.Position, playerPosition);

    // Spawn the mob by adding it to the Main scene.
    AddChild(mob);
}
Above, randf() produces a random value between 0 and 1, which is
what the PathFollow node's progress_ratio expects:
0 is the start of the path, 1 is the end of the path.
The path we have set is around the camera's viewport, so any random value between 0 and 1
is a random position alongside the edges of the viewport!
Here is the complete main.gd script so far, for reference.
extends Node

@export var mob_scene: PackedScene


func _on_mob_timer_timeout():
    # Create a new instance of the Mob scene.
    var mob = mob_scene.instantiate()

    # Choose a random location on the SpawnPath.
    # We store the reference to the SpawnLocation node.
    var mob_spawn_location = get_node("SpawnPath/SpawnLocation")
    # And give it a random offset.
    mob_spawn_location.progress_ratio = randf()

    var player_position = $Player.position
    mob.initialize(mob_spawn_location.position, player_position)

    # Spawn the mob by adding it to the Main scene.
    add_child(mob)
using Godot;

public partial class Main : Node
{
    [Export]
    public PackedScene MobScene { get; set; }

    private void OnMobTimerTimeout()
    {
        // Create a new instance of the Mob scene.
        Mob mob = MobScene.Instantiate<Mob>();

        // Choose a random location on the SpawnPath.
        // We store the reference to the SpawnLocation node.
        var mobSpawnLocation = GetNode<PathFollow3D>("SpawnPath/SpawnLocation");
        // And give it a random offset.
        mobSpawnLocation.ProgressRatio = GD.Randf();

        Vector3 playerPosition = GetNode<Player>("Player").Position;
        mob.Initialize(mobSpawnLocation.Position, playerPosition);

        // Spawn the mob by adding it to the Main scene.
        AddChild(mob);
    }
}
Вы можете протестировать сцену, нажав F6. Вы должны увидеть, что монстры появляются и движутся по прямой линии.
Пока что они сталкиваются и скользят друг по другу, когда их пути пересекаются. Мы рассмотрим это в следующей части.